I have been meaning to do a blog post of the Oliver House before and afters side by side for… oh yes 6 months! Sorry for the delay, but check out the dramatic kitchen updates, master bathroom and bedroom, and everything in between!
I’ll start with the kitchen, because that was the biggest and most dramatic part of the house remodel. We toyed with removing the wall in between the living room and kitchen, but then it came down to a few deciding factors.
1. The wall was a supporting wall, so cost and the amount of labor was costly
2. We would lose a lot of cabinets and a place to put the refrigerator.
So, we decided to only remove the wall between the diningroom and kitchen. It’s amazing how bright the whole house felt as soon as we opened up that wall.
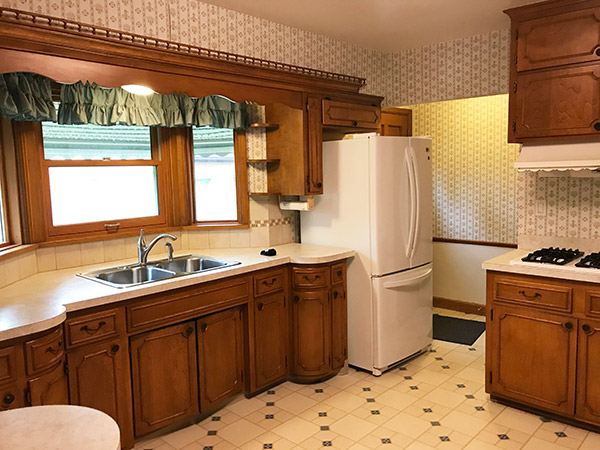
Let’s take a tour of the KITCHEN Before and After
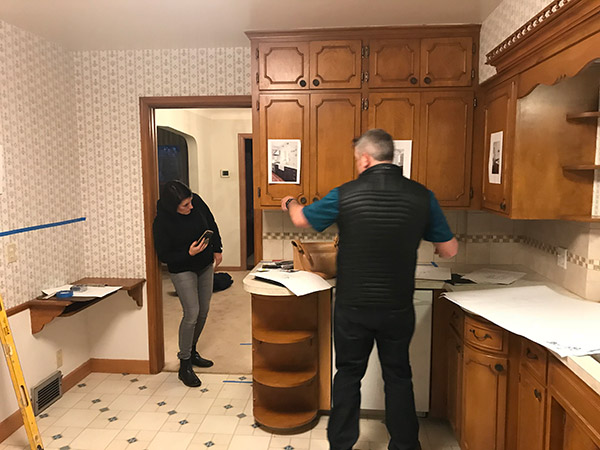
The kitchen was actually a pretty decent size for a house built in the 40’s. Appliances have grown and technology has changed, so finding the best place for each was like a puzzle. I’m very pleased with the end result. One small error was the refrigerator was supposed to slide another foot back into the wall… but oh well… haha
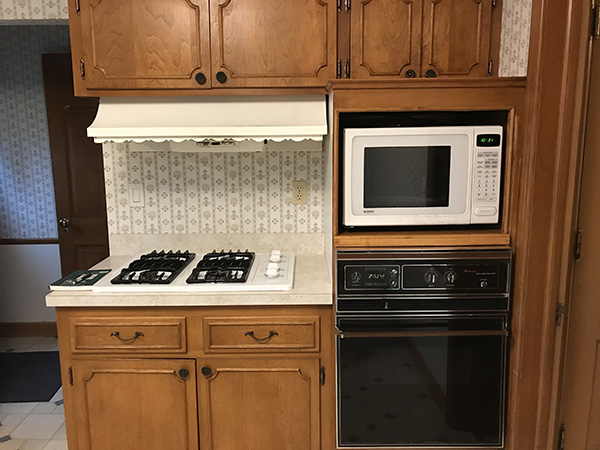
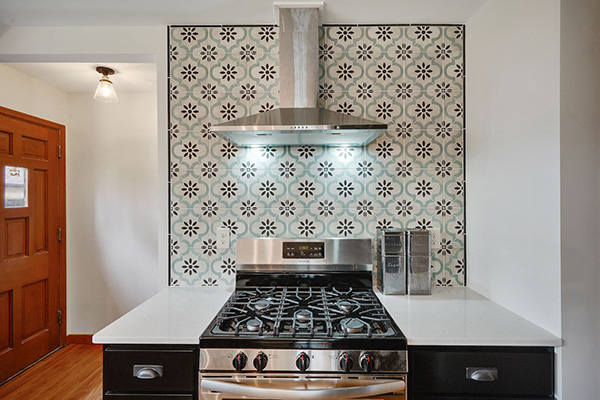
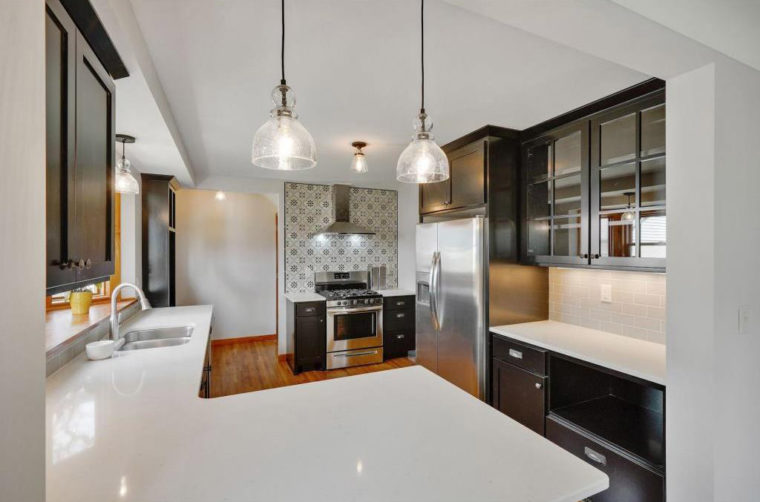
We kept the stove in the same space, just centered it. We thought it was a brilliant idea because it already had an exhaust fan and piping installed… but another one of those things… the venting stopped in the attic! Ya not okay for moisture! So, another couple thousand dollars later and another call to our HVAC contractor and just like that we have a new hood and venting installed. Always something.
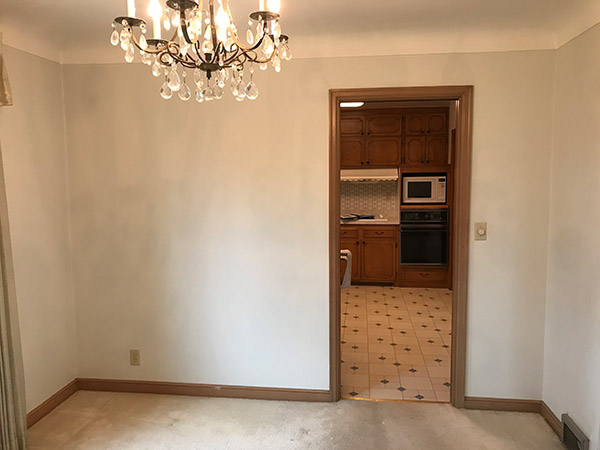
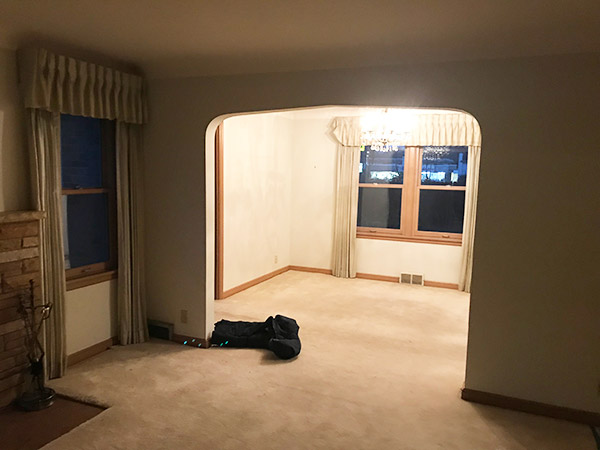
Here’s how we opened the wall between the kitchen and dining room
This view is looking from the dining room before the wall was removed. We debated about doing a center island, but when the refrigerator wasn’t push back a foot we had to redesign and do a peninsula. It worked out great and allowed for an overhang with bar stools!
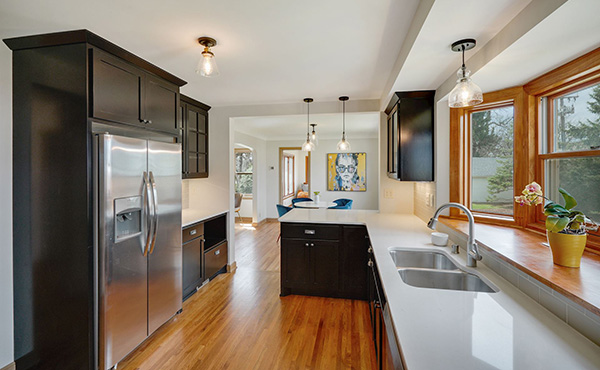
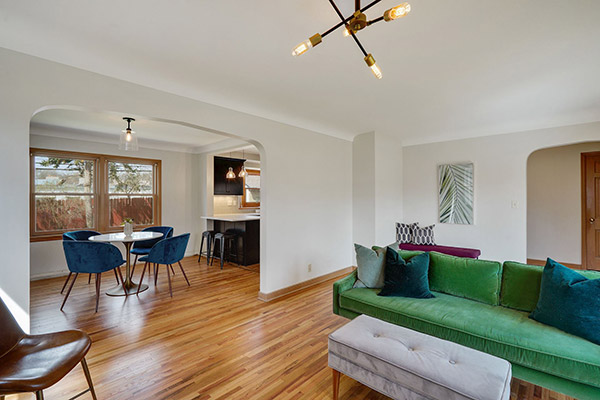
A view into the kitchen from the now open dining room.
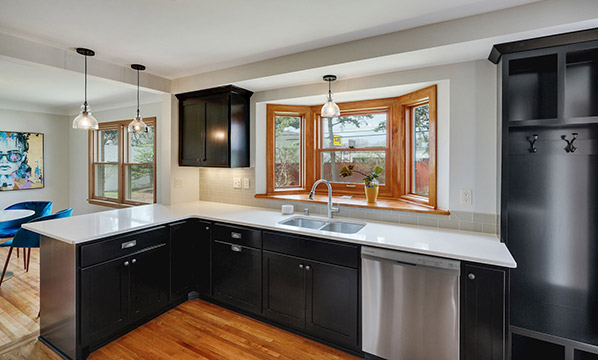
We lucked out and all the windows in this house were fairly new and in great shape. I really dislike painting over perfectly good and beautiful woodwork, so we decided to kept the stained bay window instead of painting it black to match the kitchen cabinets. It ties in nicely with the newly refinished floors. The other nice feature we added was a coat hook custom piece with a bench for when you come in from the garage. These older homes don’t typically have mudrooms, so by added a little added value with a place to hang your coat and store your shoes was a huge bonus.
Oh the curtains!
Oh the dramatic curtains! They really were fancy and I am sure really pretty in their hay-day. They were blocking so much light from entering the rooms! Once we removed them it updated the house instantly. The carpet was also in great shape, but what we found beneath them was much prettier. We had discussions about removing the arches and opening the house up even more. In the end we didn’t want to take all the charm and character away from this 1940’s home (oh and there was a supporting wall dilemma as well). The original chandelier was going to stay up until the very last second. It wasn’t matching the rest of the decor anymore, like I thought it would. It also was missing a few pieces and I couldn’t find replacements. It turned out to so bright and airy!
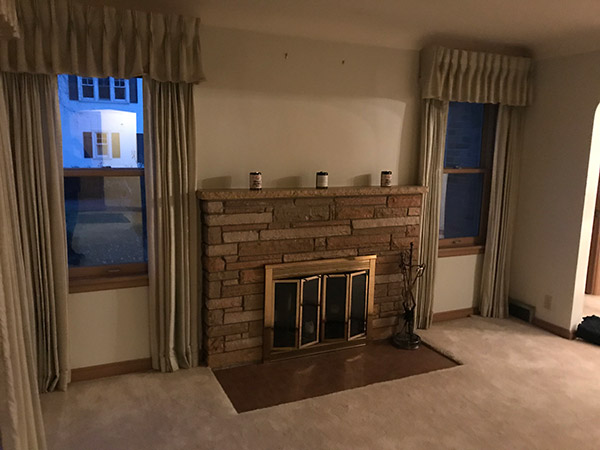
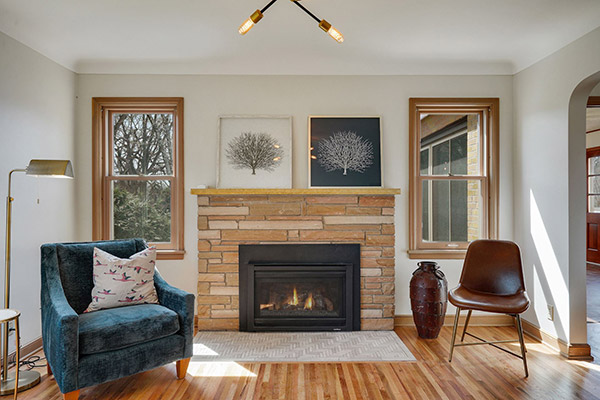
The stone on the fireplace was beautiful and in great shape, but the tile on the floor in front of it wasn’t it doing justice. I found a gorgeous travertine herringbone that blended perfectly. We knew when we bought the house the fireplaces weren’t working, but didn’t know to what extent. We hired a fireplace and chimney expert come out and take a look and boy were we surprised! It was going to be $15,000 to repair the chimneys, so we opted for installing a new gas insert instead for half the cost. It still looks amazing and doesn’t take away from the charm.
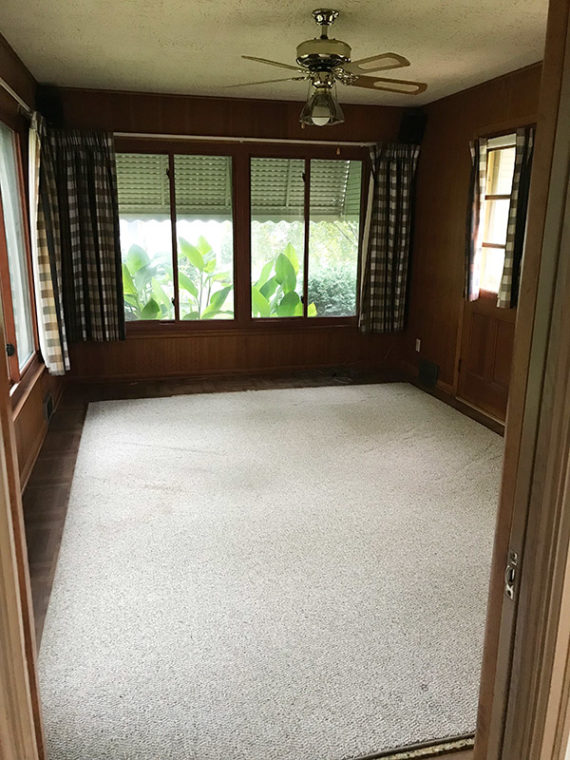
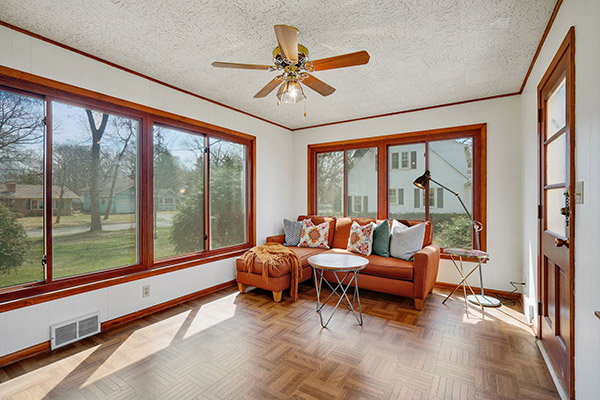
The sunroom comes alive
When we bought Oliver they stated that the sunroom was only a 3-season, but we quickly found out it was one of the warmer rooms in the house. It had the most heat vents! So, it quickly became a year-round room with beautiful light once we removed all the heavy drapery and painted the dark paneling. It’s amazing what a paint job can do to a space!
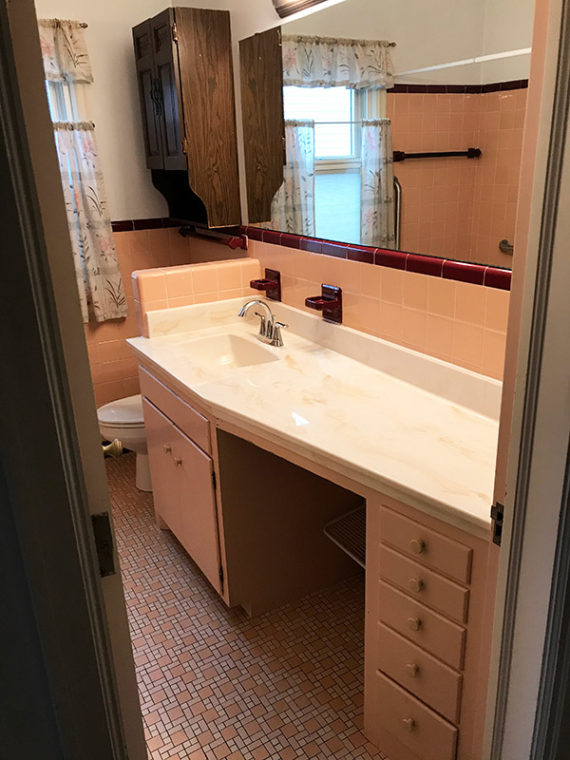
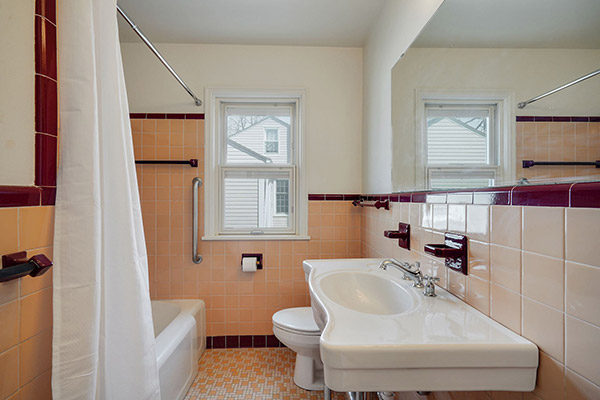
The PINK bathroom! I am a sucker for retro tile and especially retro tile that is in great shape. That’s right, I’m leaving it put and working my design around it! The pink main level bathroom had an oversized vanity that took over the entire space. We removed that and bought a nice larger sized pedestal retro sink to replace it.
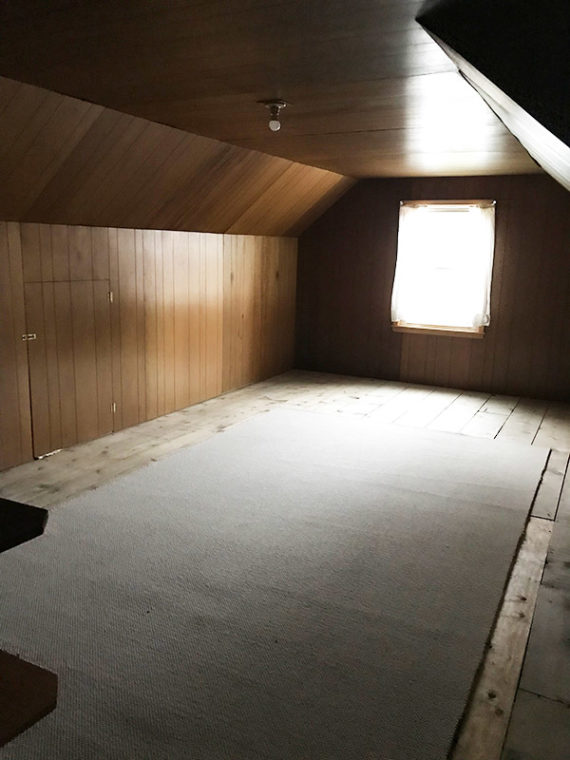
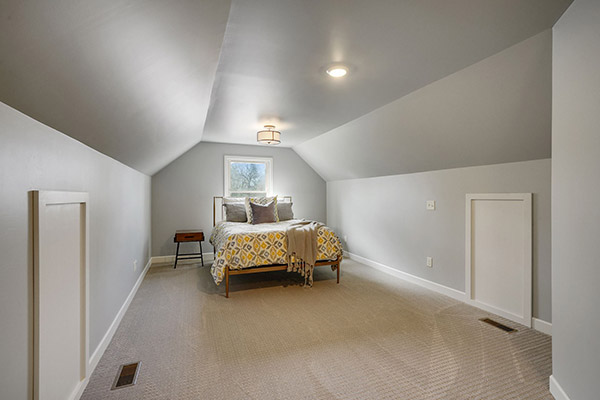
Let’s go see upstairs – The Master Suite
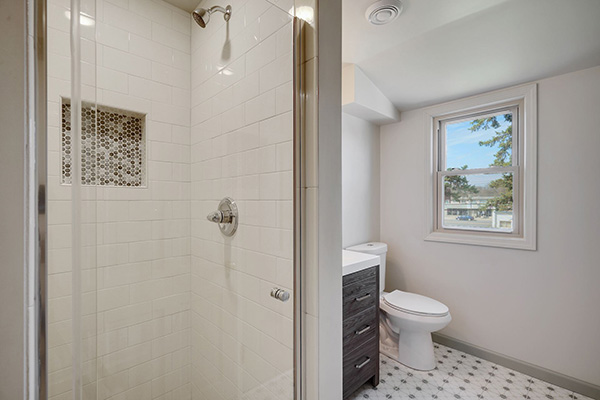
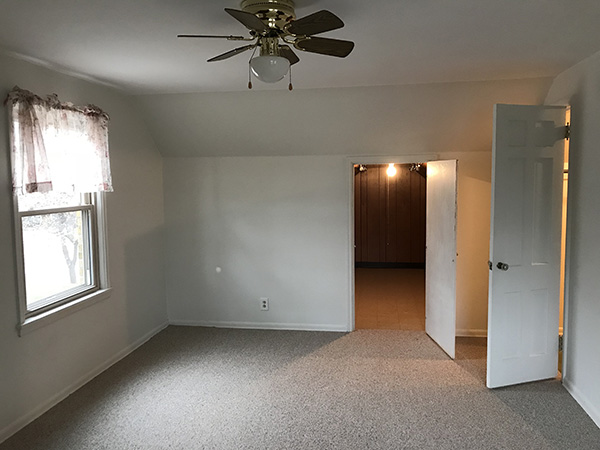
Moving on upstairs! As you will see in the picture below there was this huge unused room that had no heat ducts going to it. It became the perfect master suite. The upstairs bathroom only had a toilet and a sink, so we added a tiled shower and a door from the master into it. We did however pull down the the paneling and remove portions of the floor to make room for new duct work and additional insulation to keep this room warm in the winter and cool in the summer. There is always a hiccup, right?! The main stack in the house was old and corroded, so we decided to upgrade that and all of the existing plumbing had to be moved away from the outside attic wall due to freezing pipes. Another thing we found out after. This room went from a dark dungeon to a bright airy large master bedroom.
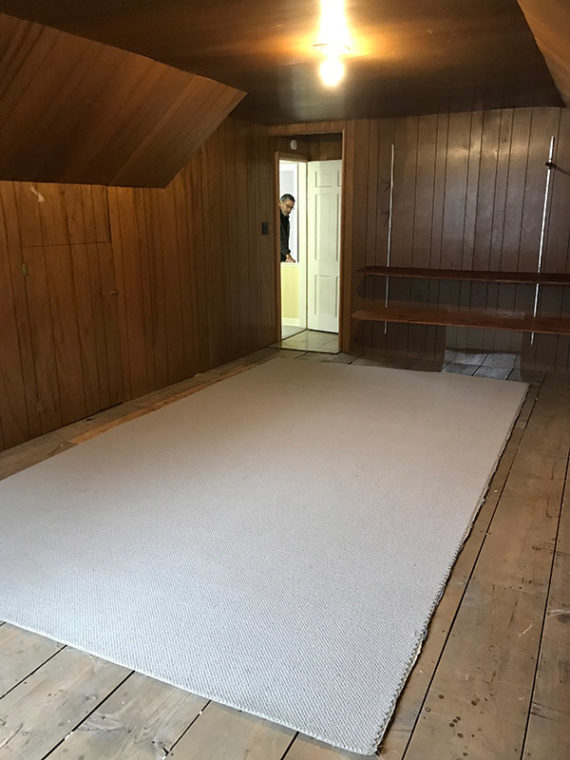
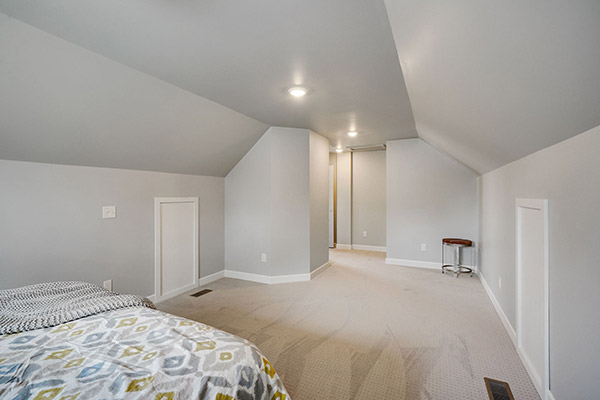
This view shows how you the entered before we adding the shower bump out. The only way to add a shower into the existing space was to bump into the master bedroom. All the angles of the ceiling were a challenge to make it work. It actually created privacy from entering the bedroom and feels very natural. On the right side we stole the closet from the room behind and created a large walk-in closet. The other bedroom already had two closets, so it wasn’t a huge deal to change the configuration.
I mean the wallpaper might have stayed ha ha if it wasn’t peeling! This bathroom was pretty much a full gut because we had to do so much stuff behind the walls and add a shower, but it turned out so nice!

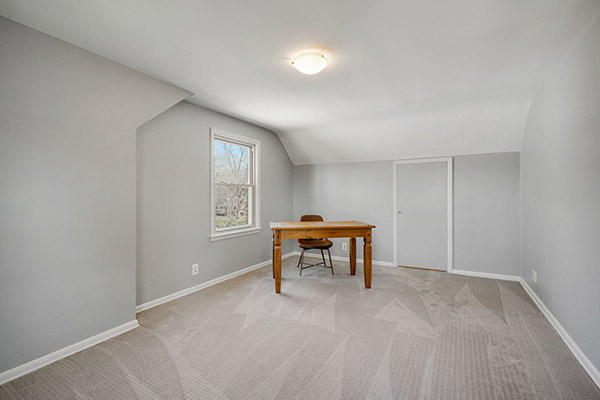
This originally was the only space / bedroom on the second floor. It’s a great size for a bedroom, nursery, or office. We didn’t need to do a ton of work with it except paint, installed new carpet, and close up the closet door on the right. That’s the closet that became the master closet on the opposite side of the wall!
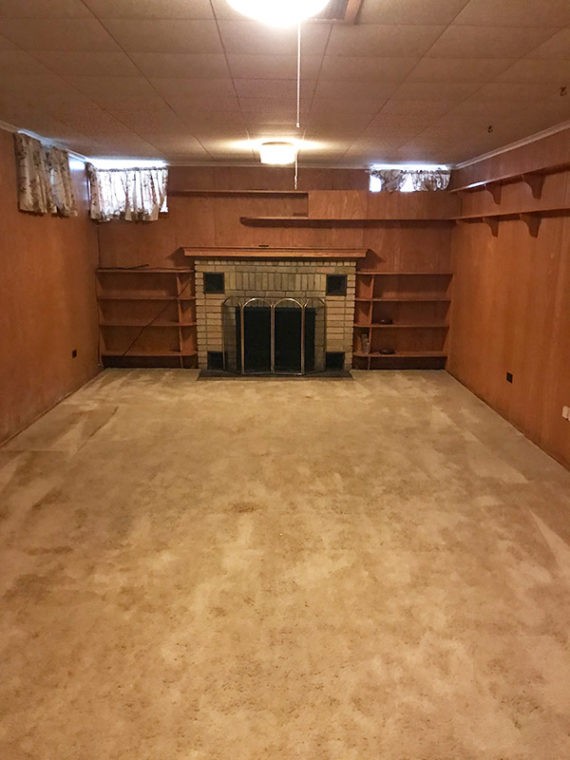
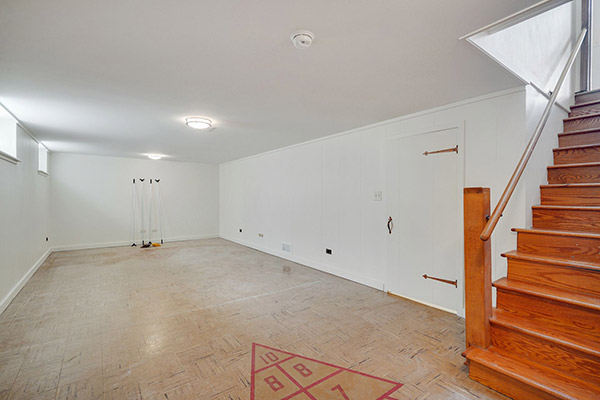
Entertaining & Gaming Retro Style
Oh the basement… when we found out we couldn’t fix the chimney, nor did we have enough gas service to run a gas fireplace insert we decided to abandon it all together. It’s still behind the sheetrock wall, so if the new owners want to try to rectify it they can. When we started pulling up the carpet we noticed the really cool retro shuffleboard tile that was originally installed. It’s kind of like the pink bathroom tile; I just had to keep it! We took down the tiled ceiling and sheetrocked it for a cleaner updated look. Painting the paneling on the wall immediately brightened the space!
If only we had more time outdoors
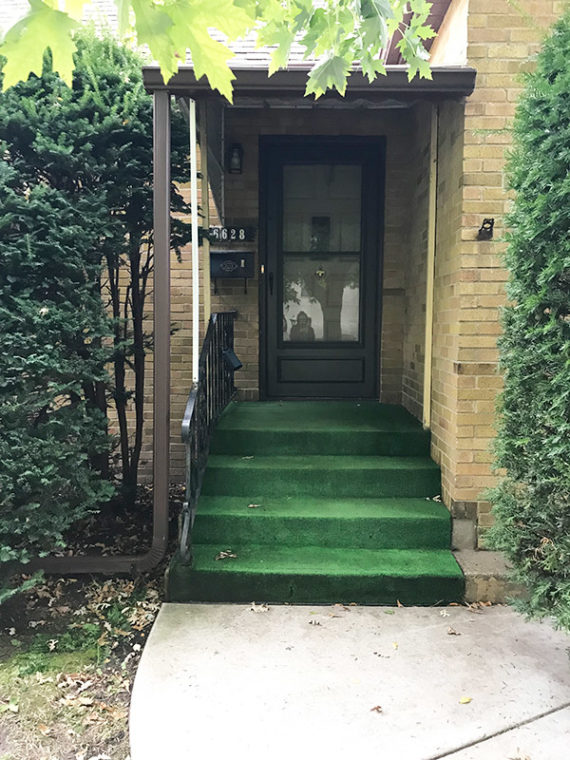
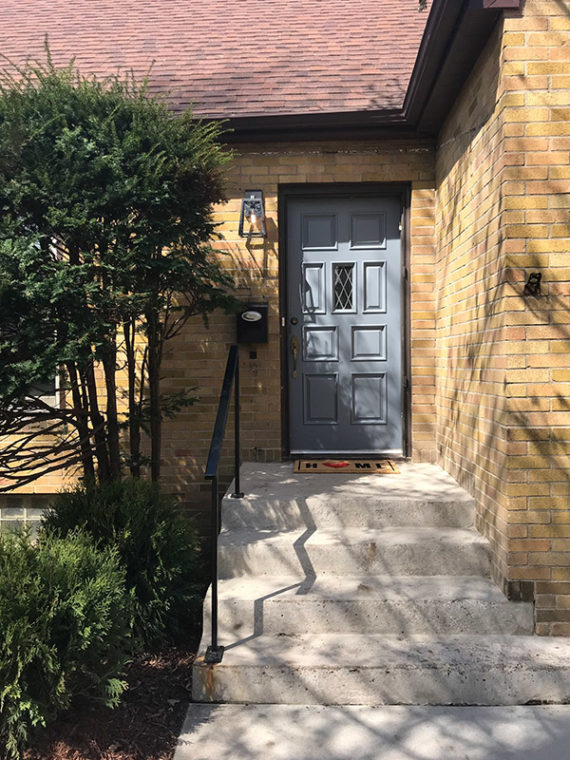
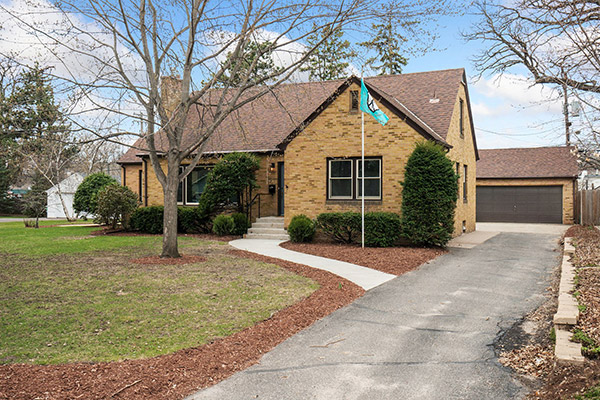
This was an amazingly well built and maintained home. It was just screaming for some updates! They had awnings over the door and all of the windows, which made it feel so dark inside. Needless to say those came off right away. You’ll see once we removed the awning over the front and the indoor / outdoor carpeting the house could finally breathe again! By removing the storm door, painting the front door, updating the light fixture, and cleaning up the shrubbery it made a world of difference.
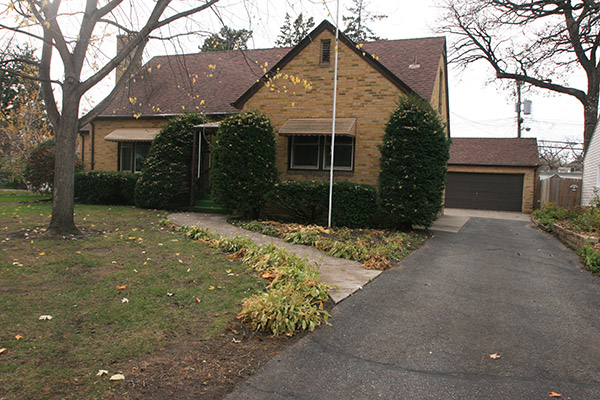
The outside of the home didn’t receive as much attention as the inside, really due to the time we owned the home. It was late fall when we purchased it and then we sold it in the spring before it was warm enough to really make the exterior pop. We were able to trim up the buses and re mulch the beds so that you could see the house again.
What’s Up Next?
I am so excited to share this wonderful house and project with you! On to my next project… when I can find the perfect house to remodel again. My next blog post will take you in the current houses I have been viewing and you won’t believe how some people treat their spaces.